


Already much better, huh? Now let's add a nice brown glaze like I learned to do from All Things Thrifty & wipe it off....

Generously Apply SANDPAPER. I know, it hurts me too..... (Note the ball.)

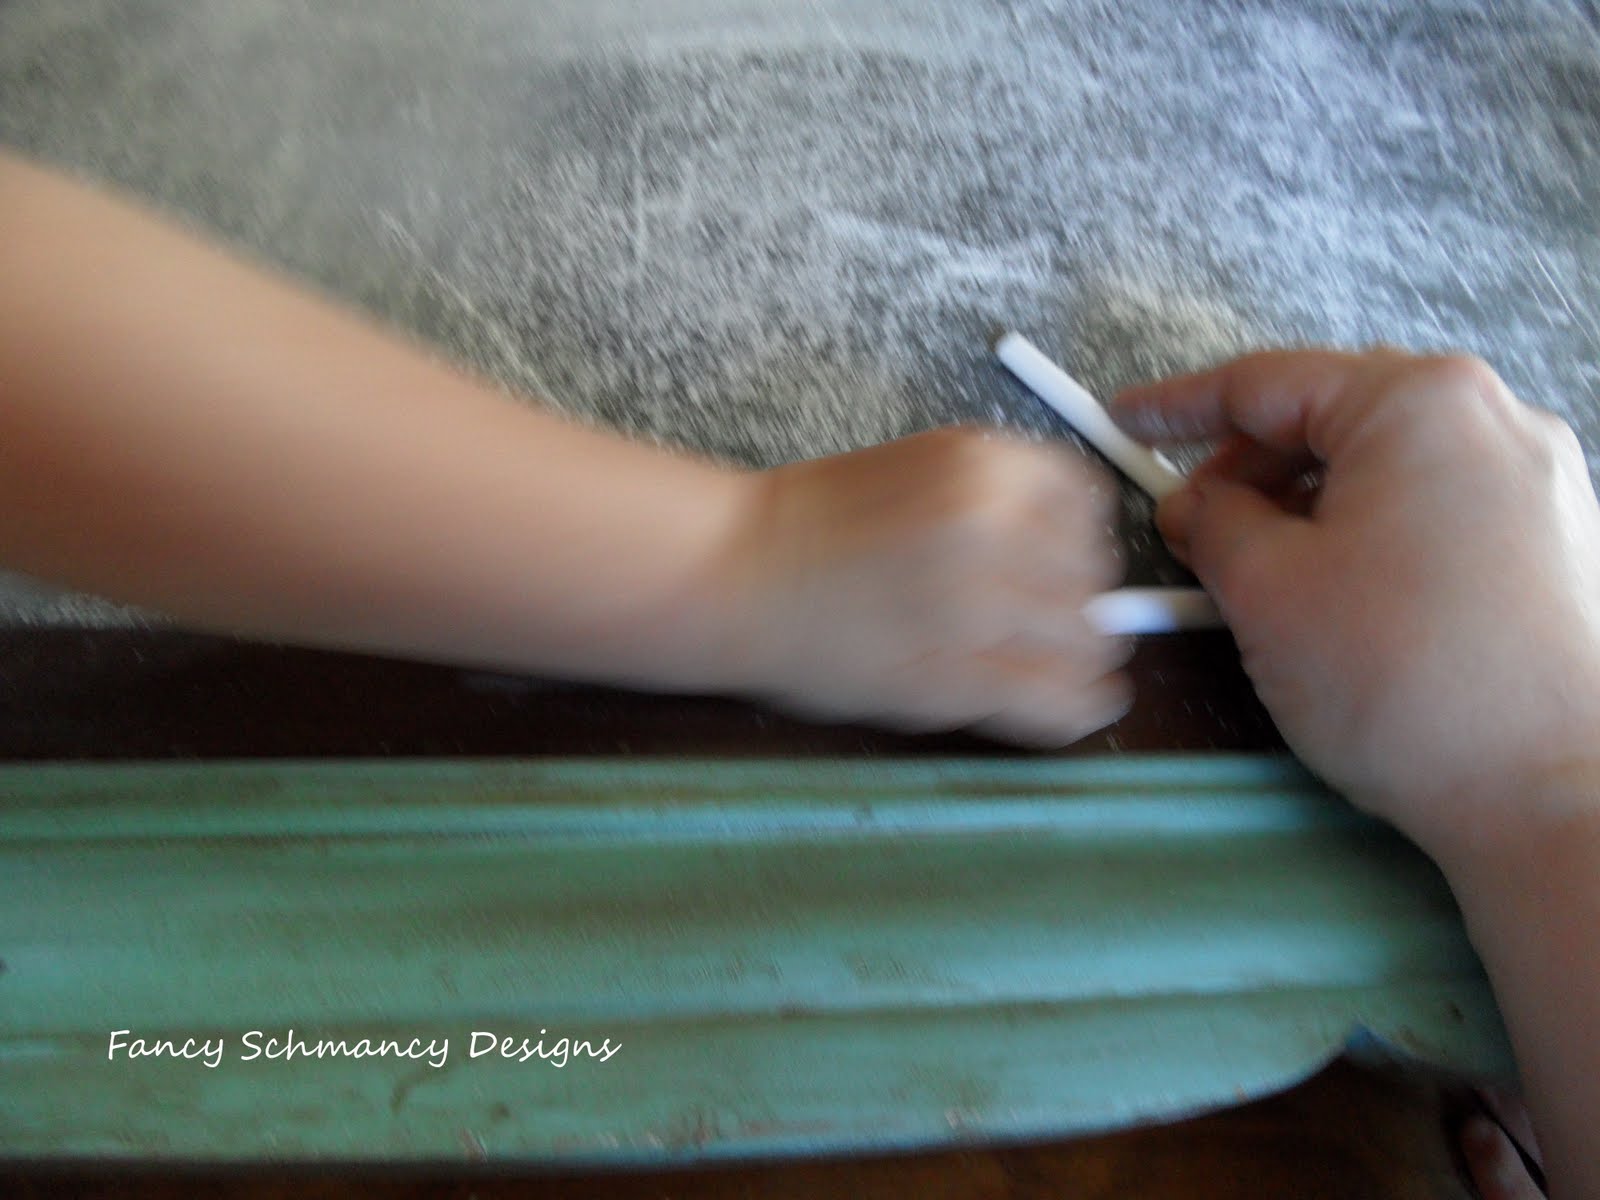
Thank your oh so cute "helper." (You have some "helpers" around, don't you?)

Before you do anything else w/ it, use it for a charming prop. We've got a shy one here...

... & 2 not-so-shy ones here:

Make certain my peg board fits....

Now how to hide this beauty? Let's make a chalk board!!! Just get a smooth, flat board. I used the back of the original painting because the painting was glued on the back of an ultra smoooth board, BUT you can get some similar board at home improvement stores. Buy some chalkboard paint. (I used a larger can from Home Depot, but Joann had lots of Chalkboard paint colors for $6.99 last time I was there. Just be sure to Google a coupon b-4 you go so yours will cost 40% -50% less ;)) Apply it with a smooth paint roller & w/ several coats go to town! (Sorry, I forgot a picture of me painting the chalkboard.)

I just love her.
**Anyone else tried their hand at chalk board paint?
 Domestically Speaking &
  .
. 


Maybe I am alone, but I think they are sooooo charming! The little spoons don't have real measurements they say such cute things like:

Measuring spoons, albeit largely unused, I have! What I do not have is much kitchen decor. So.... TADA!

Do you have something charming you could display on your wall? I will tell you the easy process of how I did it. Sorry ,but I did this b-4 I started this blog and so you can't see me actually gluing and such, but trust me: YOU CAN DO THIS!
First I found an old but deep frame at a second hand store whose picture, I am sad to say did not turn out. :( Next, take out the pictures/ boards in the center of the frame. If one of the boards are flat you can use it for your purposes, if not, cut one out of some good sturdy material.
Next, cut a piece of material about an inch and a half larger in diameter than your board. I chose a damask pattern because I adore damask!
Then put a good layer of Modge Podge on your board and smooth on the material making sure to center it well and to have no air bubbles. Turn your board over and using your glue gun, fold the excess material over and glue it down. When you get to the corners, fold them neatly & glue as well. When you are done you should have something like this (minus the brads).

Next, I got out a nail & hammered where I wanted my hanging hardware (brads), then I worked the brads in the nail holes, folded them over on the back and hot glued the backs.


I then put another layer of Modge Podge over the Damask material to add a little shine & to make it easier to wipe clean when it invariably collects dust and such.
FINALLY I primed & painted my frame...

...installed my charming Damask board, mounted it on my wall & hung my prized measuring spoons on the brads!


from here & painted it by rubbing toll paints on the paper w/ an old rag. My door is very protected by my roof, but you could add a layer of Modge Podge to add some shine & endurance. It's close to Independence Day so I decided to go w/ Red/ White & Blue.
Here's a finished flower:

Not bad for paper , paint & scissors, huh?
Start by cutting a basic flower. Don't worry if it's not perfectly proportioned!

Now snip in between one of the petals and cut more petals in a spiral fashion...
 Keep going until you reach the center.

Now start with the center and give it a good tight twist to create the center. (Did I just show you my disgusting painted fingers?!)

(In case you didn't see, here's my fingers again!) Now twist some more... keep going.. until there's no more!

Now just hot-glue them on your project! The glue will stop them from unraveling. I used a white petticoat for the center of my black thing-a-ma-jig that I made for my baby's blessing dress a couple of years ago that went horribly horribly wrong! I just wrapped it in a ball and glued it in my "black thing-a-ma-jig", then added my flowers.
Now for the leaves, from the same paper just cut...

Now fold in half...

Now fold the center in an "L" shape.

It needed something more so I found some red tulle to stick behind & made a sign out of some old jeans, a ribbon & modge podge & voila!

Here's the end result:
 What do ya think? You can say you hate it, but please don't really hate it. :)
 .
.
